Dizzy with dreams of exotic travel, my wife Lori and I spent several evenings in our driveway, listening to the chirp of late August crickets as we sat in our new 18-foot travel trailer. Like most newbie RV owners, we fantasized about the future trips we would take, crossing the backroads of North America and pushing stick pins into a map. There was, of course, the small detail that we didn’t have a tow vehicle yet, but not to worry. While we shopped around for one, we’d utilize the rest of summer’s waning days to tackle the growing list of upgrades we wanted to make to the RV.
Deciding To Upgrade The RV Sink
The RV was 7 years old but in remarkably good shape, due to the mortality of the original owners, who waited too long to enter the RV lifestyle. My list of improvement items ranged from the practical to the mundane. Energy saving lights and new propane tanks with fill gauges topped the queue. Lori’s list was more imaginative, with creative things like curtains, a new mattress, and dishes that would transform the trailer into our ‘home away from home.’ But our two lists converged at one critical point of agreement. The horrible factory-installed kitchen sink had to go.
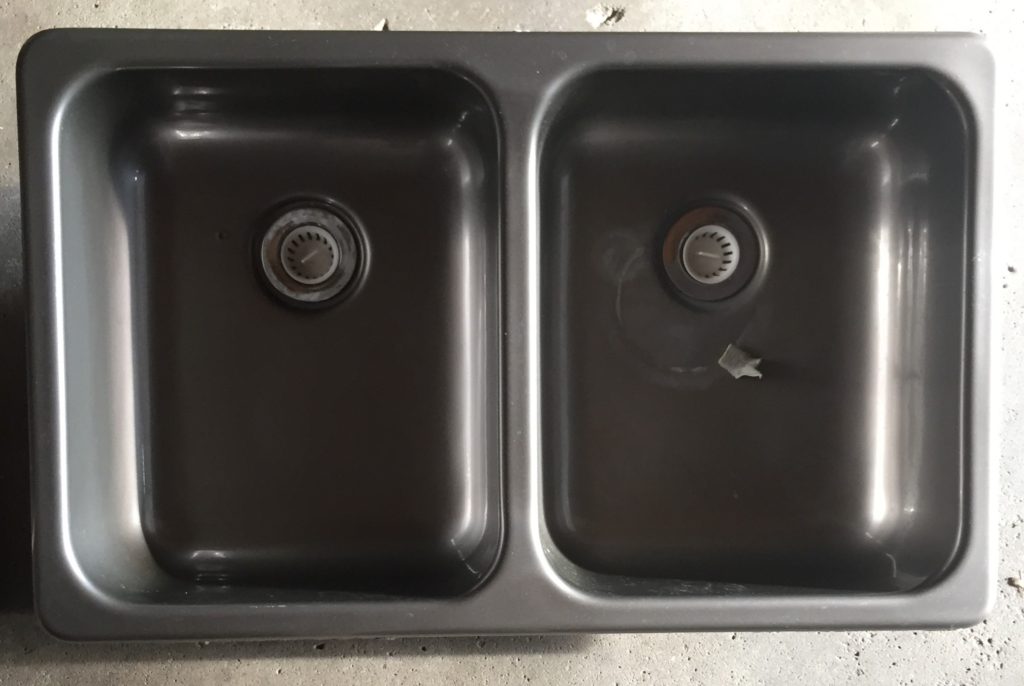
Typical of many RV sinks, ours was shallow and undersized, about 4” deep. Washing anything larger than a small plate was like dabbling in a birdbath with both hands, sending most of the water onto the floor and countertop. Although it was a dual sink with a faux aluminum-colour, it had tiny drains and was made of plastic. Yes, plastic. As many experienced RV’ers already know, every time a hot lid or pan touches such a sink, it will burn a new mark into it, visible forever like a cattle brand. The RV sink had to come out before we hit the open road.
Finding The Right RV Sink
After several trips to the big box home improvement stores, it was obvious they didn’t have the RV sink we were looking for. Most were either too big or were small, single sinks suitable for a man-cave wet bar. Many internet searches later, we found what we were looking for on eBay. A dual-stainless steel sink, with a standard 8” depth that would fit into our countertop with a bit of cutting. The list price was $60 from a seller in the USA. The overall cost to us was about $100 CDN, including taxes and the shipping to send it to our Toronto area home.
Installing Our New RV Sink
After the new sink arrived, the first step was disconnecting the existing drains by unscrewing the plumbing underneath. Fortunately, the supply taps were mounted right onto the counter behind the sink, so it was a simple matter of disconnecting the drain plumbing and loosening the clips under the sink that held it down to the counter.
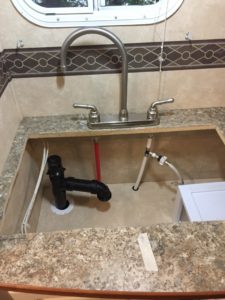
There was no need to disconnect the water supply lines. Next, I carefully measured the new opening and cut it larger using a reciprocating saw. I found it useful to mark the midpoint on the counter so the new sink would line up straight with the taps.
Picture: Enlarged hole in the countertop to accept the new sink. Note the thin veneer ‘floor shelf’ under the sink that had to be removed to lower the plumbing for the deeper sink. Also, note the vacuum breaker fitting sticking up from the top of the drain pipe. The vacuum breaker is essential to allow the sink to drain into the grey water tank without ‘chugging’.
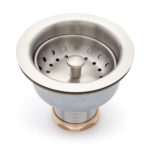
Once the new sink was test fitted in the enlarged opening, it was time to install the basket strainers/drains into the holes in the sink. I purchased them at a big box store for about $15 each. There are two different ways to mount them. One method uses the traditional plumber’s putty (a substance like children’s plasticine) that solidifies somewhat to become the gasket between the strainer/drain lip and the sink. The other is to use silicone. Generally, silicone is messier and harder to clean up, so I opted for the putty. The putty is also applied all around the sink, under the edge where it meets the counter, to prevent water from getting underneath. It’s the same procedure as installing a regular kitchen sink, and there are many tutorials on the internet that go into detail if you have never done it before.
Picture: Basket strainer and plumber’s putty.
The internet also has many diagrams on how to plumb the drains for a dual sink. It’s the same idea as in a house, except there will be the vacuum breaker vent as part of the plumbing. I found it useful to go to the hardware store and ‘test-assemble’ all the PVC pipe parts right there in the store before buying them.
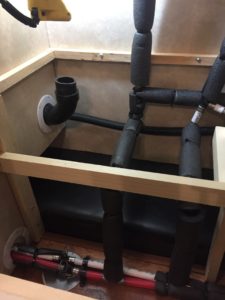
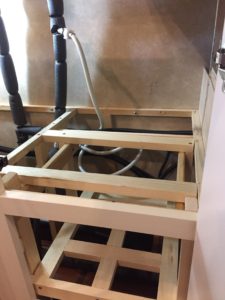
Area under the sink with the thin veneer ‘shelf floor’ removed, the old drain plumbing cut off, and the water lines wrapped in foam pipe wrap.
The thin veneer ‘floor shelf’ under the sink area had to be removed because the new sink was deeper and required the new drain plumbing to be lower. After removing the veneer shelf, I wrapped all the supply water lines with foam pipe wrap and zip ties, to clean things up and help minimize vibration noise in the water lines. (Pictured Right)
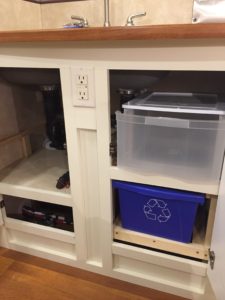
While I had the sink out and the area exposed, I decided to convert some of the wasted space underneath the sink into a practical storage area. As in most RVs, the existing wood framing consisted of either particle board or flimsy strips of wood stapled together. I wanted to build a small shelf structure to hold a sliding drawer and a recycling bin. I found that 1×2 inch poplar was the best solution, being very lightweight and easy to cut/drill. (Pictured Left)
Once the framing and pipe wrapping was all done, I dry-fitted the new drain plumbing together, using the old drain plumbing as a model. It’s an old plumber’s trick to use a white or silver sharpie marker to mark all the test-fitted PVC plumbing pieces before you glue them. That way you can confidently re-assemble everything by gluing one piece at a time according to the marks. After test fitting and marking the drain plumbing, I re-installed the thin veneer ‘shelf’, about 4 inches lower than before.
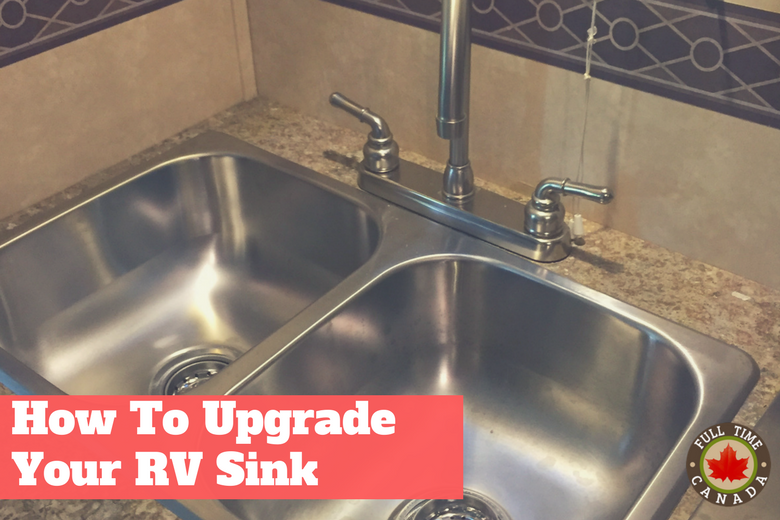
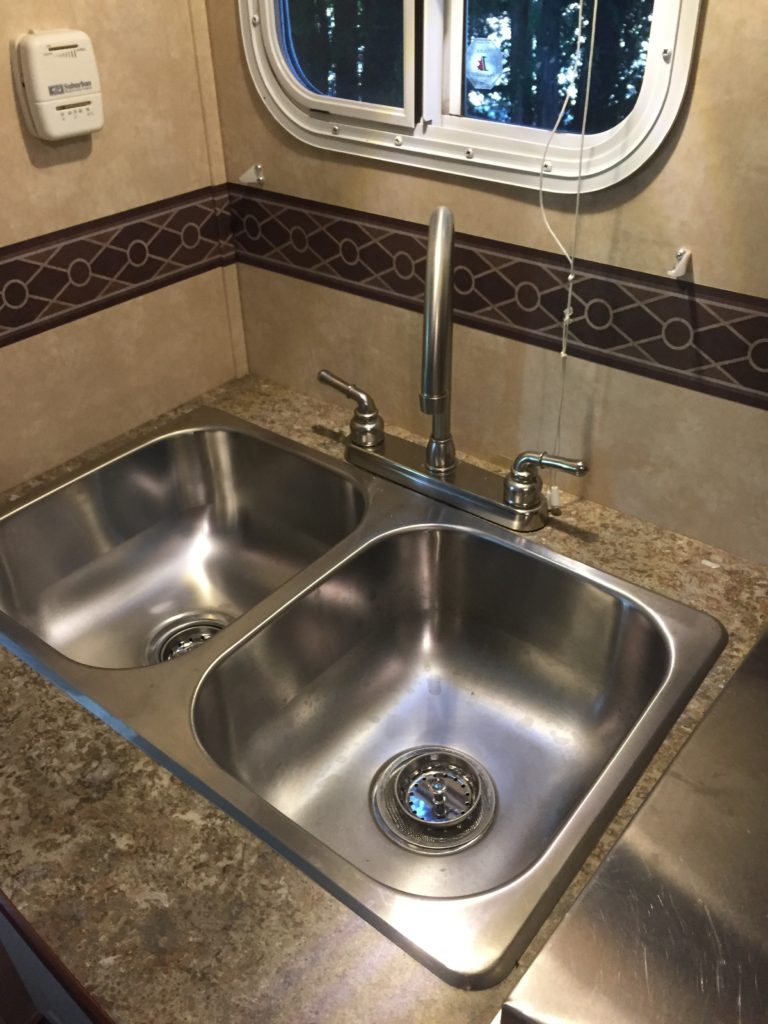
Next, I cemented all the drain plumbing together and attached it to the bottom of the sink. I then eased the sink/drain assembly into the counter, pressing down on the plumber’s putty bead all around the edge of the sink. Finally, I cemented the drain assembly into the trailer PVC drain that goes down into the grey water tank. The last step was to install the under-sink tension clips that came with the new sink and wipe off the excess putty that oozed out between the sink and the countertop. That part of the install was exactly like a regular kitchen sink in a house.
Picture: New sink mounted and new PVC drain plumbing cemented to the drain. Sliding bins installed.
Once the sink was installed, I did the usual testing for leaks. Everything was perfect! The new RV sink has made a big difference in our ability to function in such a small space. Since the kitchen is such a hub of activity, it helps a lot to be able to cook and clean up with no limitations due to the sink size or the material it’s made of. Now we can transfer pans right from the flame of the propane stove to the sink, without any fear of damage.



1 comment
So glad I found your blog. We are just starting a renovation. I am selfishly hoping you have redone your floors so I can follow along. 😂😂